Thermocouple Swap
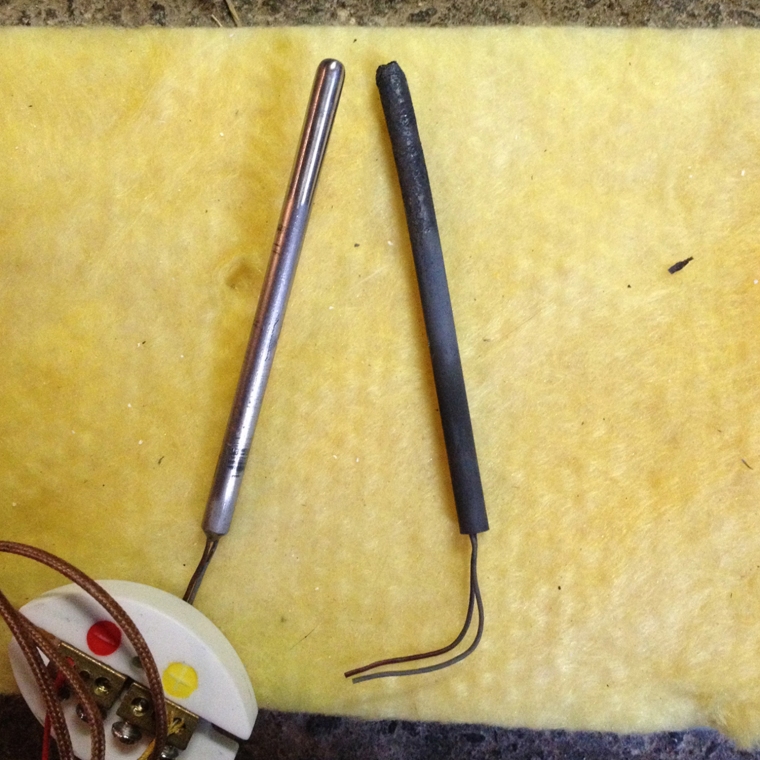
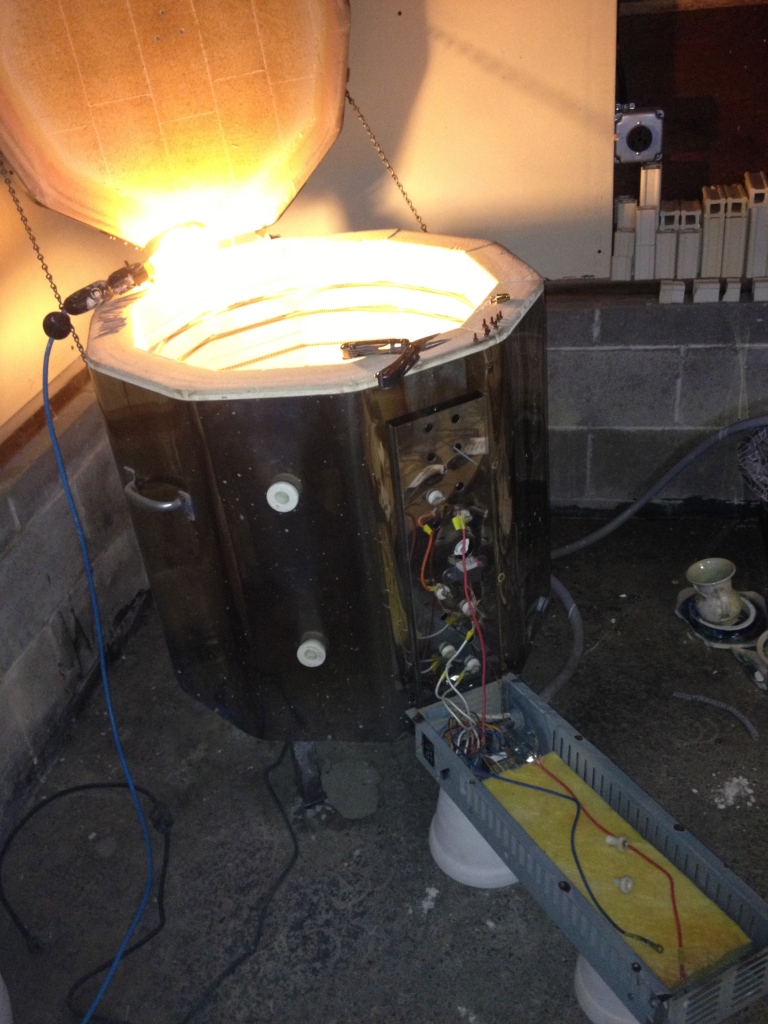
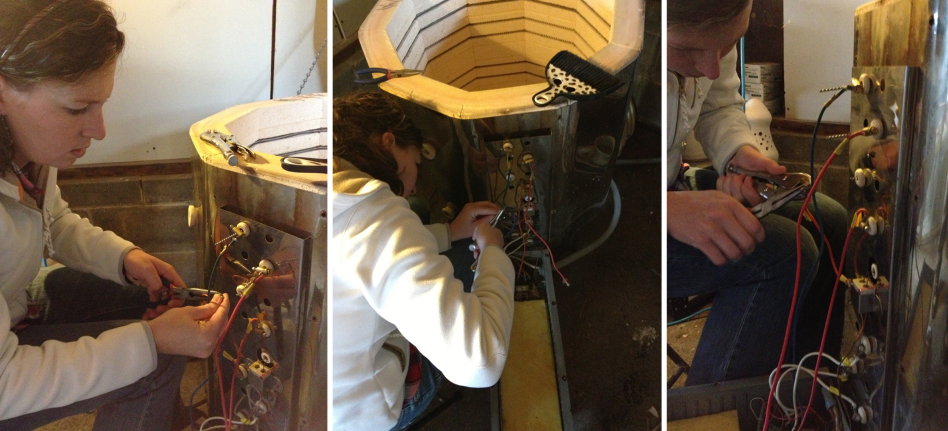
After replacing my Elements about two weeks ago(already?), I realized I was foolish to not also order a new thermocouple. I was thinking back on when I last replaced it and realized it was a year ago! It is a miracle that my kiln was even firing at all! I was afraid to see what my thermocouple looked like when I removed it…sure enough it looked like a charred piece of charcoal. When I received my new thermocouple in the mail, I was a bit surprised by its appearance. It was different looking from the one that was in my kiln. I also noticed that it came with instructions, which I did not receive that last time I had it replaced. I soon realized this was because they changed the model of my thermocouple and sent along new wiring. I had to remove the old wiring from the control panel and replace it with the new. Everything is now in place. All that is left to do is cut back the protruding wires from the elements and screw the control panel back into place and then give a test fire. I am going to fire it up to 1000 degrees as quickly as it can climb and then let it cool naturally. This will allow for any and all oils to burn off the elements and thermocouple. Then I am hitting the ground running with several kiln loads already spoken for! First a bisque or two, then I will be glaze firing like a mad-woman! It is about time, too! I have a lot of exciting things to send through the kiln and I am anxious to share them. (Here is a picture comparing my old thermocouple with the new one. Yikes!!)
The Elements
I am not referring to the elements outside, Hurricane Sandy. She didn’t seem to do too much to us here. We lost power for a few hours last night and there was some really strong wind, but not too bad. I wonder if that was it or are we going to get hit with some more later? I think that might be it. I am grateful though. I hope others out there didn’t have too much damage and power loss from Sandy. I have yet to hear how my family is doing down in Maryland. I am sure I will hear today. Yesterday, the storm was predicted to hit us around noon and I had some work I needed to finish up with my kiln! My box of new elements just lay on the garage floor, so I wanted to get them off the ground and into the kiln in case of flooding. I sat in the garage yesterday for a couple of hours while the wind and rain was picking up outside.
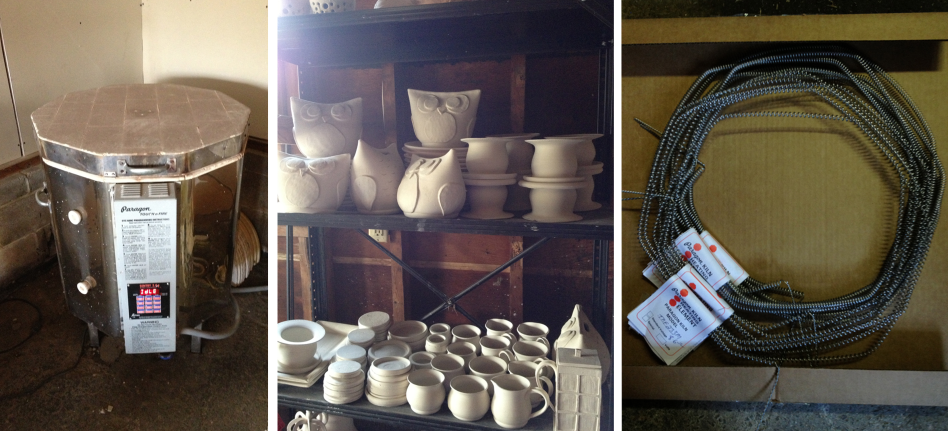
This is the first time I have done a kiln upgrade myself. I have learned a lot about my kiln over the past year. When I realized that I desperately needed to get new heating elements, I decided to install them myself. It is a good skill to know as a potter. I don’t want to pay someone to install for me every time I need new elements! I was actually quite proud of myself that I was able to do it all.
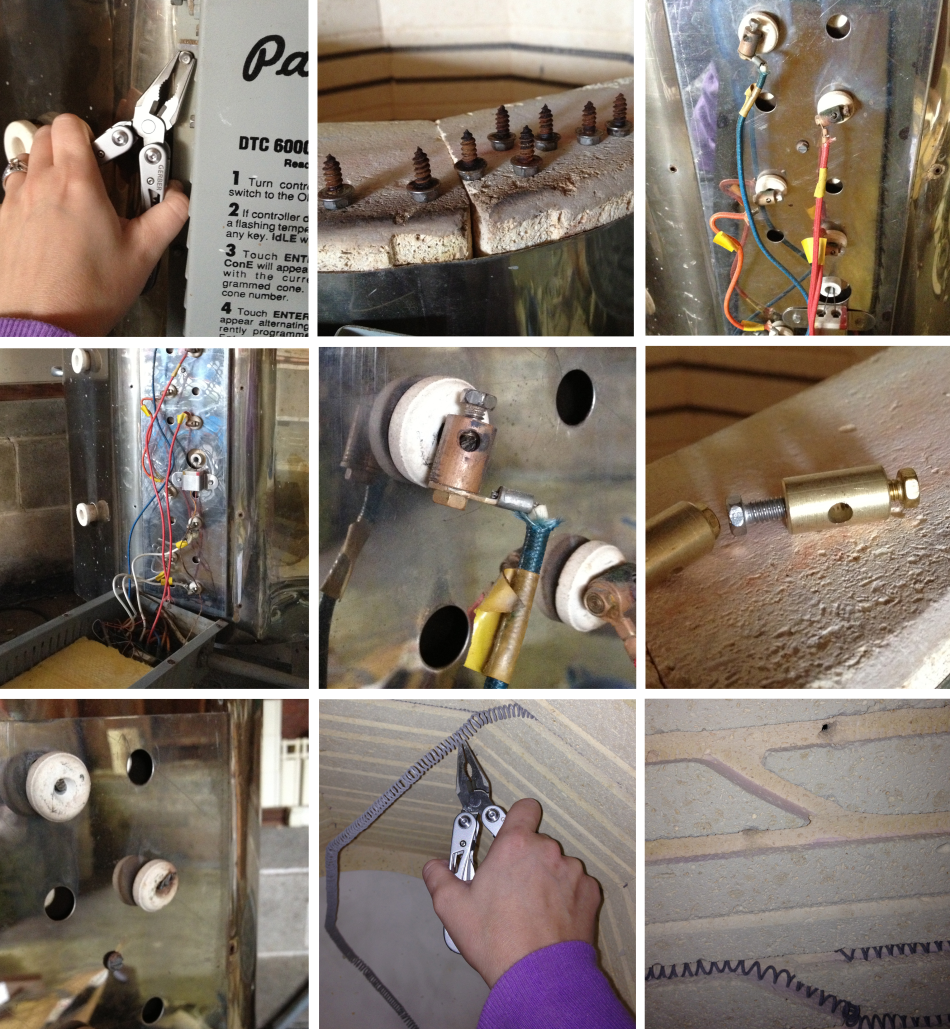
I have a LOT of working that needs to go through this kiln, but first things first, new elements are needed! To start off, I powered off the kiln and then unplugged it before I set to work. I will pass on the 240 volt shock, thank you very much! I removed all the little screws to the front of the control panel so I could open up the board to see the wires and fuses. I worked from top to bottom in my kiln. My kiln has four sets of heating coils or elements. Two in the middle and one set on both top and bottom. The top and bottom sets are different from the ones in the center of the kiln. Working from the outside-in, I began by removing the wiring elements and fuses from the heating elements. (I wish I new all the proper terminology. That will be learned the more I do this, I am sure!)
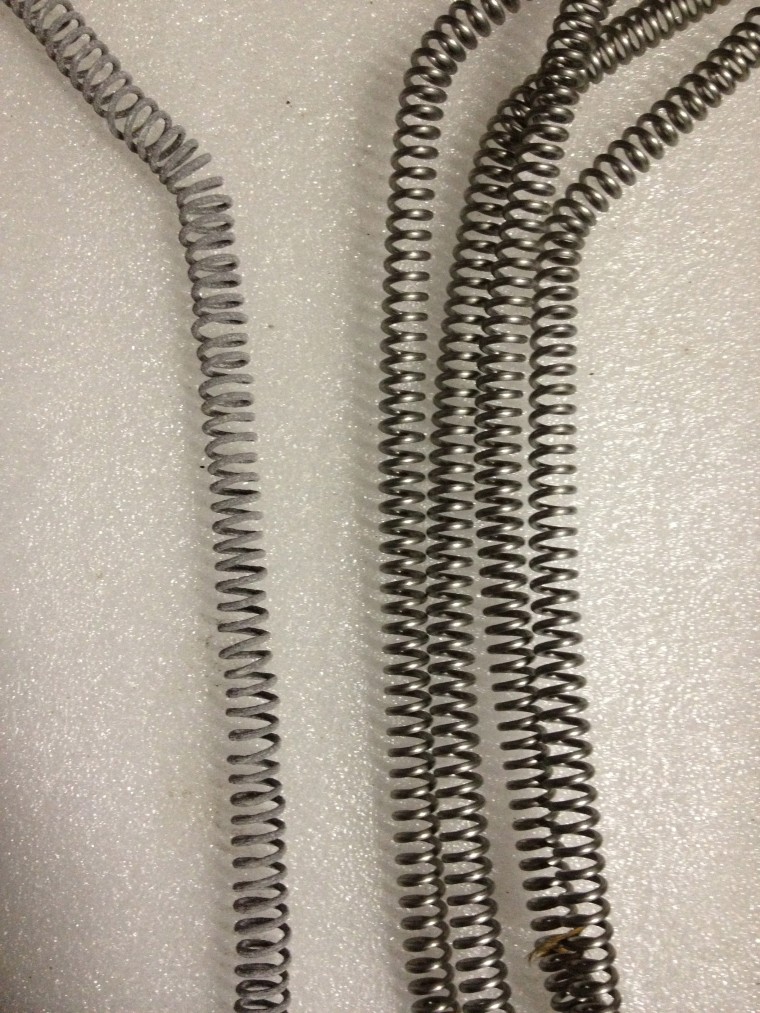
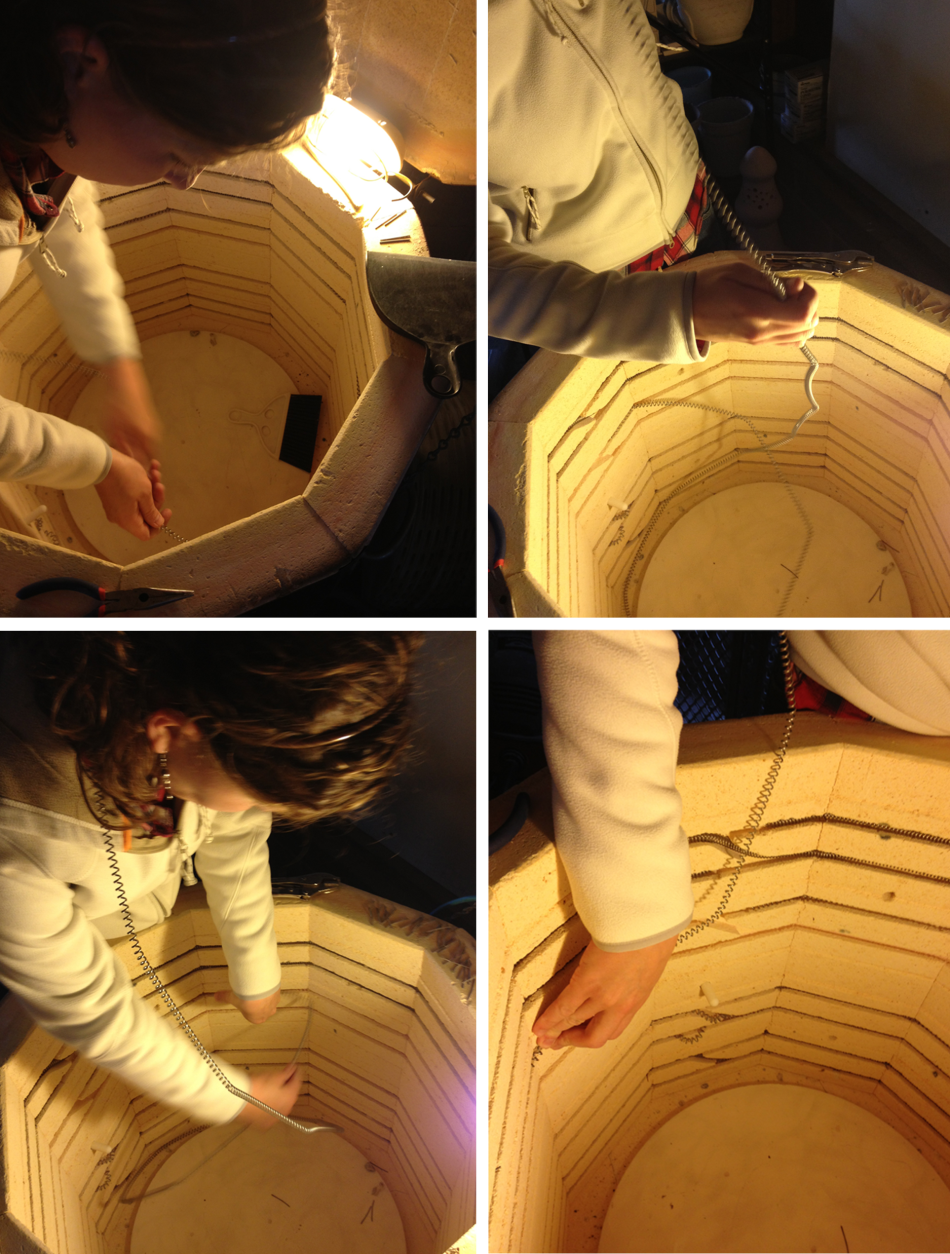
After removing the first row of heating elements I vacuumed the kiln and started feeding in the new coils. As you can tell, they were pretty corroded! They were bad! I should have changed them a while ago! “Coulda, woulda, shoulda”…I am doing it now. The new ones are so nice and shiny: that’s what we like to see!
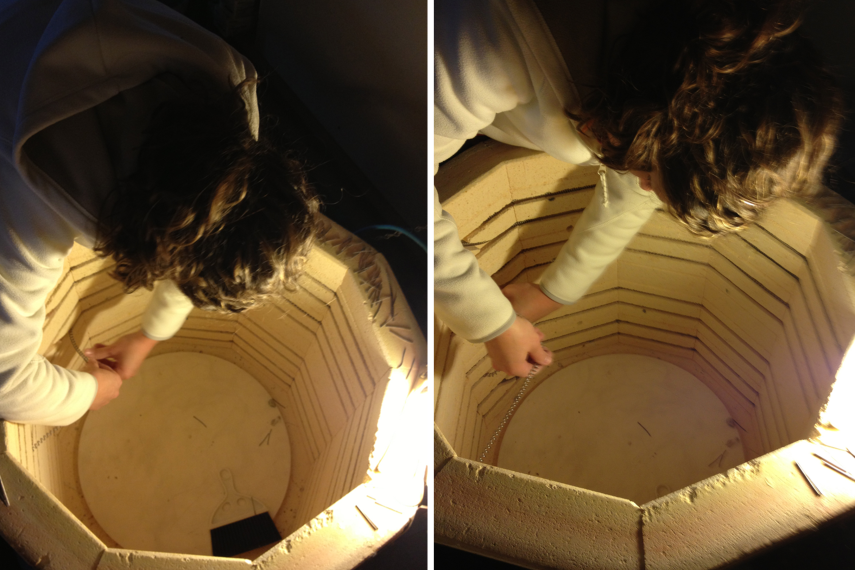
As you can see, the lighting I had to work with was minimal. I got the job done though and by the end of it, my back was killing me! Once the new element was in, I had to go around the kiln and press down the coils to make sure they were set inside the grooves. I secured any sections that might pop out with kiln pins. If I don’t do this, the coils can droop and fall out of the grooves during firing. Once that happens you cannot bend them back into place or they may break. After they are fired, they become much more brittle. With the element in place, I inserted the porcelain covers and reattached the wires with new copper fuses (if you call them that) back down to the control panel. One element down three more to go!
Now I just need a new thermocouple and I am ready to rock! That will be much quicker and easier to install than the elements. I do love having new parts. My glazes are going to look great. New elements and a new thermocouple greatly play into the size, shape and quality of crystals.


